…a really useful server!
When Apple released a new Mac mini in 2014, the end of Apple server hardware was confirmed. Running a 2011 Mac mini Server I decided to source the final version of the product and acquired the Mac mini Server (2012) that I still have. Though running up to macOS 10.15.8 Catalina this little machine has a knack of becoming useful again at the point I’m thinking of parting with it. I am technically letting this Mac mini be a little distant now as it will move to an offsite location to be used by my partner Peter and I as part of our backup plans. Here is the story of a Mac mini Server remaining useful in 2026.
Intended Use
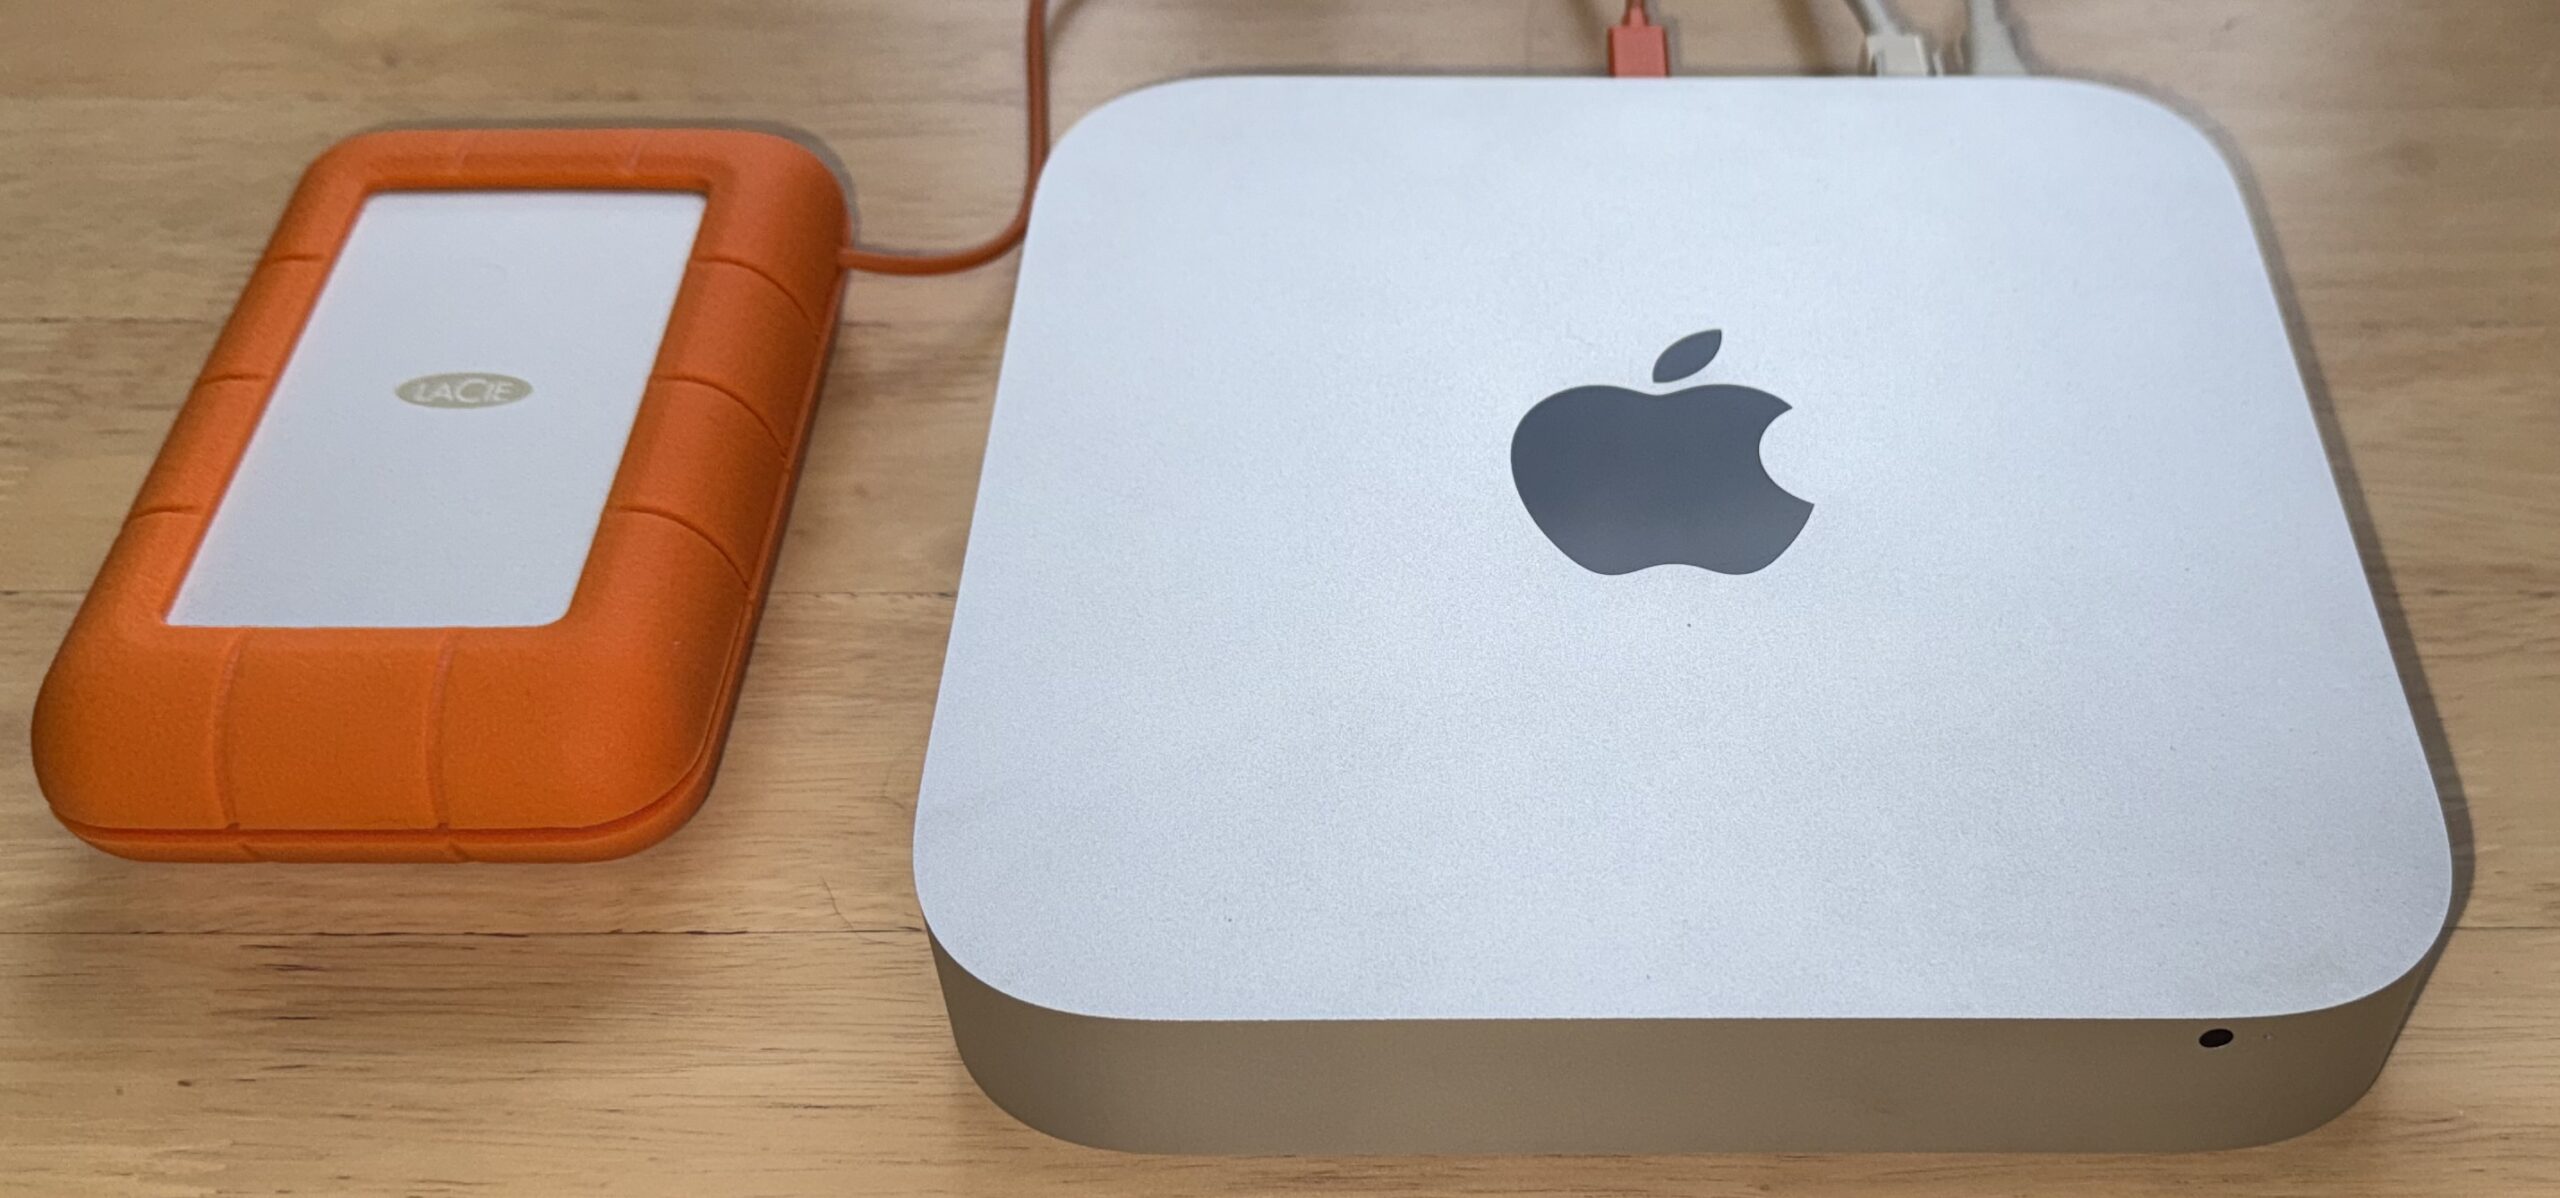
The 2012 Mac mini Server will be paired permanently with a LaCie Rugged RAID with an old style Thunderbolt connection. The setup will primarily be used for backups over rsync and ssh, however data duplication will be performed with a virtual machine running NetSUSLP like the one on my local network; this way for a 3-2-1 backup I will have: production data at home, a local backup to RDX cartridge, and the duplicated service running offsite caching the same data from the internet.
Installing Up-to-date OS
I decided to use the “The universal operating system” Debian over Ubuntu Server mainly because Debian will likely support older processors for longer. Installing Debian is easy on the Mac mini Server, however will not automatically configure the AirPort adapter which in this case is OK as the server will use Ethernet exclusively. I recommend keeping macOS bootable, therefor I recommend installing Linux on the other hard disk so that it gets its own EFI partition; as in my experience sharing the EFI partition with macOS can wreck havoc with Apple system boot utilities. Peter and I chose to use LVM while partitioning, we deselected the Desktop packages and added OpenSSH Server.
We decided to use sudo with our user accounts which in Debian is done by:
# apt install sudo
# usermod -aG sudo username
I contemplated disabling the root account as is the way in macOS and Ubuntu however: reading Debian’s documentation I decided to leave the root account enabled as sudo is not by default part of any Debian package groups; so I have a failsafe if sudo were to accidentally be removed.
Bolt Control
I had to learn how to use Thunderbolt devices with Linux which is thankfully not too difficult. Thunderbolt is supported by current Linux kernel’s however some extra software is required to “authorise” attached devices including my old LaCie Rugged RAID. We need to install “bolt” then use “boltctl” to list and authorise devices:
sudo apt install bolt
sudo boltctl list # look for the uuid
sudo boltctl enrol uuid
…we can now use tools like lsblk and fdisk on the Thunderbolt drive.
Mounting the Thunderbolt Drive
I discovered that /etc/fstab works a little different on Debian GNU/Linux to Red Hat Enterprise Linux and that copying RHEL conventions can make the system fail at boot. On RHEL an option line like “auto nofail” makes a drive mount at system startup but will skip if not attached. On Debian GNU/Linux the option must be written like “defaults,nofail” or it literally will fail. My entry in /etc/fstab looks like:
# LaCie Rugged RAID automount but will not prevent system boot if disconnected.
UUID=b4eeee32-73b7-4c6f-a08b-afea3b296a25	/mnt/LaCie	ext4	defaults,nofail	0	0
Install VirtualBox & Enable AutoStart
Installation instructions for VirtualBox are provided at https://www.virtualbox.org/wiki/Linux_Downloads : follow the instructions to add the repository for Debian-based Linux distributions. Once VirtualBox is installed users who will use VirtualBox can be added to the vboxusers group like the following:
sudo usermod -aG vboxusers usernameI then installed my virtual appliance and made some configuration changes. I would need VirtualBox Remote Desktop Extension due to the lack of display and GUI on the server; VRDE allows an RDP client like Windows.app to be used as a display and input. VirtualBox is a great virtualisation solution for servers with no GUI, however libvirt and Linux KVM is often more appropriate.
sudo VBoxManage extpack install Oracle_VirtualBox_Extension_Pack-7.2.6.vbox-extpack
VBoxManage import NetSUSLP_5.0.2.ova --vsys=0 --vmname=NetSUSLP --basefolder=/mnt/LaCie/Users/andrewread/VirtualBox\ VMs/
VBoxManage modifyvm NetSUSLP --nic1=bridged
VBoxManage modifyvm NetSUSLP --vrde=on
VBoxHeadless -s NetSUSLP
At this point I was able to connect Windows.app to the Mac mini Server via its DNS name and get access to the virtual machine where I was able to use the ip add command to get its network address and MAC to setup routing. I also proceeded to upgrade the Ubuntu release in the appliance then shut it down ready to configure VirtualBox to startup the appliance on Mac mini Server startup.
sudo vi /etc/default/virtualbox # sample file bellow
sudo mkdir /etc/vbox
sudo chgrp vboxusers /etc/vbox
sudo chmod 1775 /etc/vbox
sudo vi /etc/vbox/autostart.cfg # sample file bellow
sudo systemctl enable --now vboxautostart-service
VBoxManage modifyvm appliance --autostart-enabled on
/etc/default/virtualbox
VBOXAUTOSTART_DB=/etc/vbox
VBOXAUTOSTART_CONFIG=/etc/vbox/autostart.cfg
/etc/vbox/autostart.cfg
# Default policy is to deny starting a VM, the other option is "allow".
default_policy = deny

# Andrew is allowed to start virtual machines but starting them
# will be delayed for 10 seconds
andrewread = {
    allow = true
    startup_delay = 10
}
Virtual machines can now be configured to autostart with a command like:
VBoxManage modifyvm NetSUSLP --autostart-enabled=onSecuring macOS
Now that my Debian GNU/Linux system has demonstrably confirmed its suitability I had to boot into macOS and tidy some stuff up. macOS was in a fresh state so booting into it could allow for a new admin user to be created with the ability to cause confusion and delay, so I decided to setup macOS and secure it. I also needed to enable the option to Start up automatically after a power failure, which cannot be configured anywhere other than macOS or macOS Recovery. During my time in macOS I updated to macOS 10.15.8 from 10.15.7 which automatically set the Mac mini Server to boot into macOS and not Linux.
With access to the macOS terminal I did:
sudo pmset -a autorestart 1…at this point I do not want macOS to change the system state to shut down as I want the Mac to load Linux whenever power is supplied; Debian GNU/Linux does not appear to change the PRAM states when shutting down so the Mac will always now startup when power is supplied which is ideal on a remote server. To get back to Linux I did a reboot the reinstalled grub as a method of making Linux the default boot option. Holding down the ‘option’ key on reboot I selected “EFI Boot” which took me into Debian GNU/Linux via GNU GRUB then did the following:
sudo grub-install
sudo shutdown -h
My Mac mini Server is a Linux system by default again and ready for its new remote life.