Setting up a Windows computer for a new owner
Isn’t if frustrating when you buy a secondhand computer from an eBay seller, or worse a so-called secondhand computer repairer or reseller to find that they think your first name is “Dell”, and surname “User”, or maybe they called you “Cex”? Isn’t it also annoying that the computer has a pile of documents, and the storage is clogged up with useless software, and a whole pile of junk loading into memory on boot and wrecking havoc with the registry?
It is relatively east to preconfigure a Windows computer with essential software and drivers with built in setup tools. This guide explains how to use “Sysprep” allowing you to setup the computer and prepare it for transfer to a new owner where they will get an Out Of Box Experience (OOBE) like they would expect from a brand new computer. In this hypothetical scenario I will preinstall a browser and office suite that a customer has requested with the computer so that I can demonstrate the experience.
The following guide is relevant from Windows Vista to the present day Windows systems. A similar preparation can be performed for Windows XP but has a few additional steps not covered here.
Erasing the System
It is always best to refresh the Windows system before passing a computer on and this is done by formatting the Windows installation volume and any other user accessible volumes. When using Windows 10 on an upgraded computer that shipped with older versions of Windows it is possible to easily erase all files and software in the Settings app and install a fresh copy of Windows 10. If you are planing to pass on the system with an older version of Windows you may need to use a manufacturer factory restore system, or install from a Windows installation media which may be downloadable from Microsoft, or available from the computer manufacturer.
The following procedure is used to refresh a Windows 11 system which is also similar to how Windows 10 works:
- Open “Settings” from the start menu
- In the “System” category select “Recovery”(or with Windows 10 this is in “Updates & Recovery”)
- Select “Reset this PC”
- Select “Remove everything”
- You can then in most cases do a “Local reinstall” although a Cloud download may give you a more up to date system to start with. If there is damage to your recovery volume it will be necessary to do the “Cloud download”
- At the “Additional settings” screen you must select “Change settings” then toggle “Clean data?” to “yes” to properly clean the system.
- Click “Next” at subsequent screens then “Reset”.
Preparing the system
After completing the erase procedure the computer should have only Windows and required drivers. You can possibly power down the computer when the Out Of Box Experience loads and pass the computer on for customisation by the new owner. If you need to install additional drivers and application software you need to enter “Sysprep”:
- At the OOBE do not go through the setup process: instead press Ctrl + Shift + F3 which will bypass setup and take you into audit mode
- A sysprep window will appear once the windows administrator desktop is loaded and will remain throughout this process: do not attempt to close the window, the window will reappear after normal shutdowns and rebooting from the Start menu

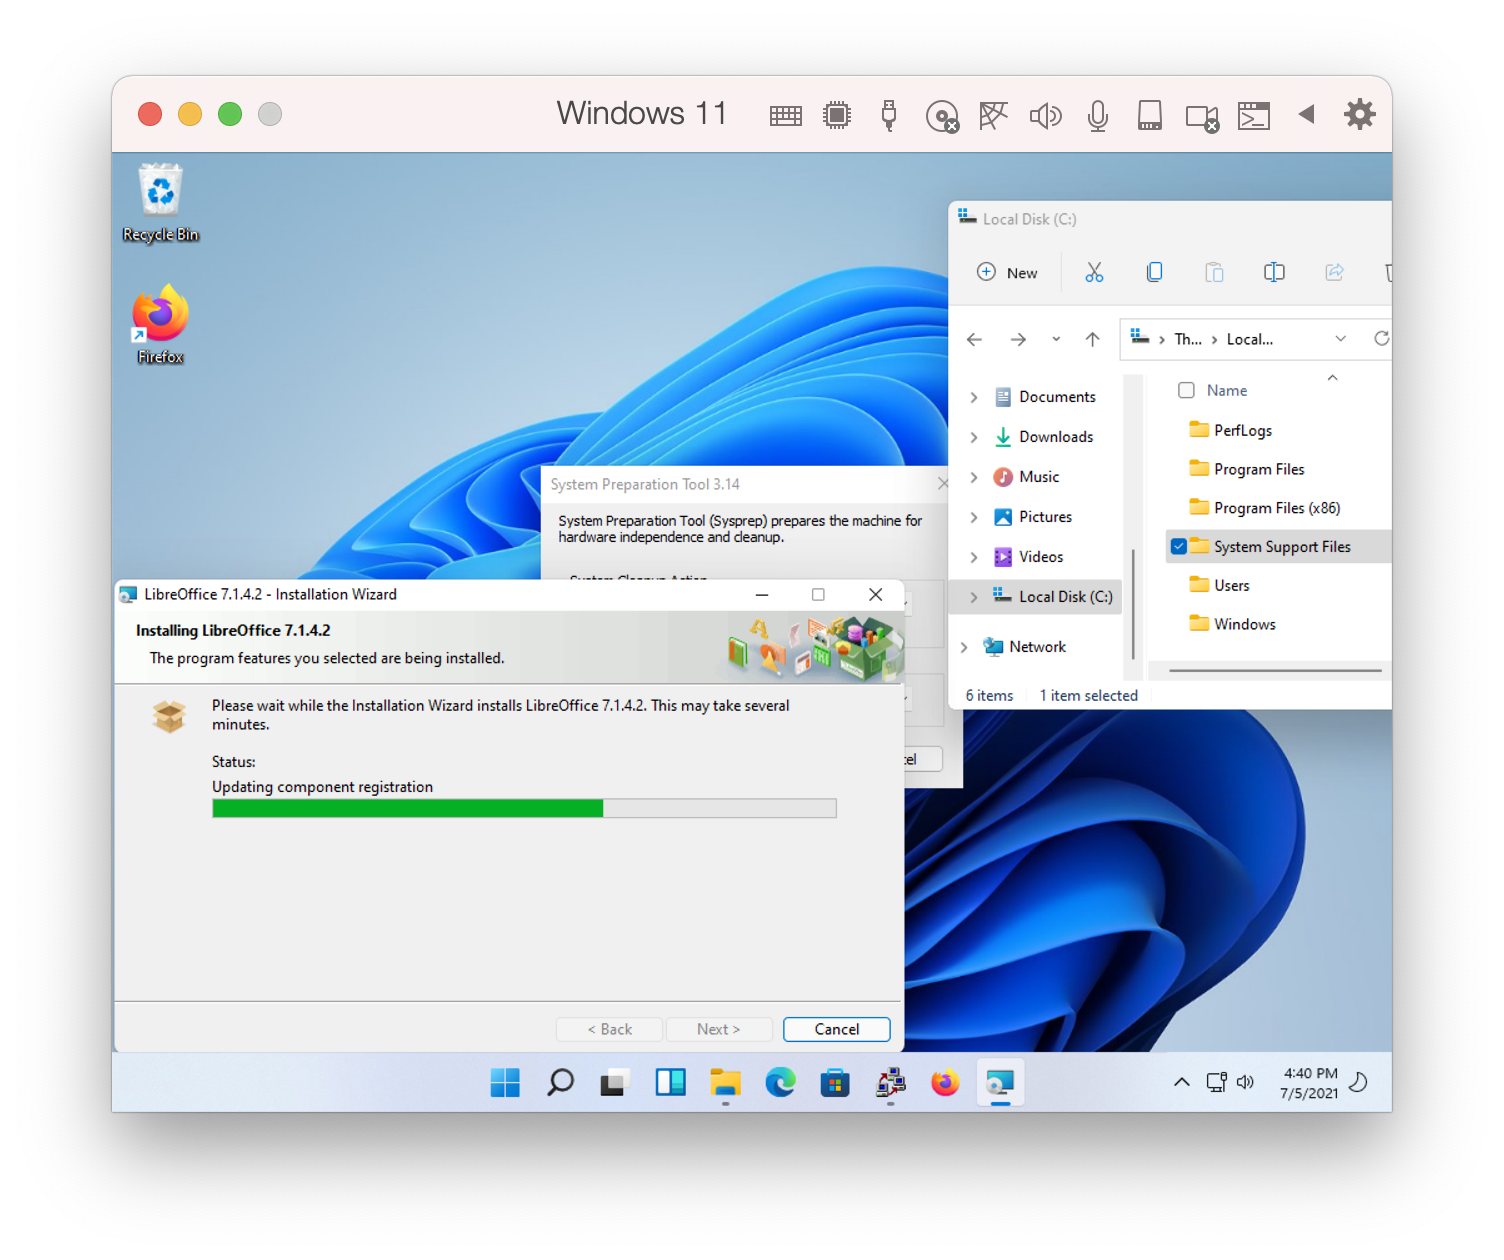
- Download and install driver software, applications and place files that you wish to supply with the system into folders outside of Documents & Settings; as this will get cleaned in the final step. In this example I’m going to install some device drivers, the LibreOffice suite , some Mozilla stuff, and place some stuff in a folder on the “C:” drive so that we can see what the system is like for a new owner.

- It might be worth using the windows disk cleaning and optimisation utilities before the final sysprep stage.
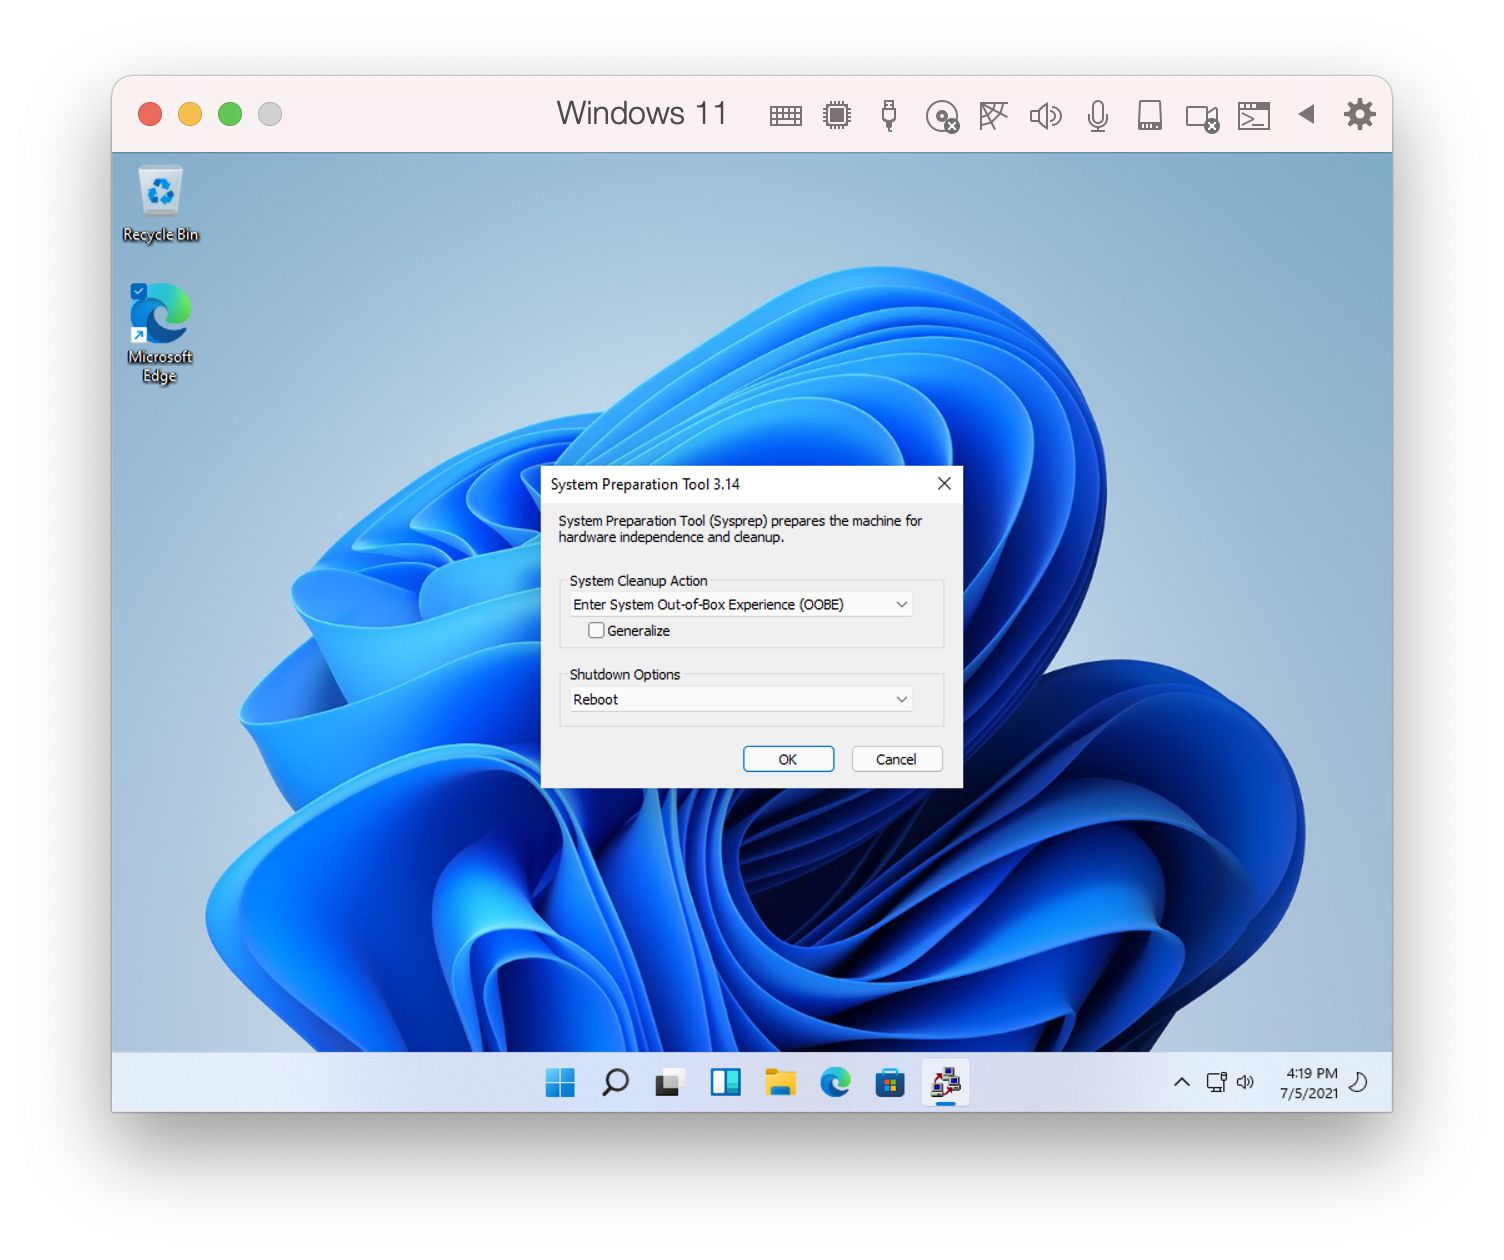
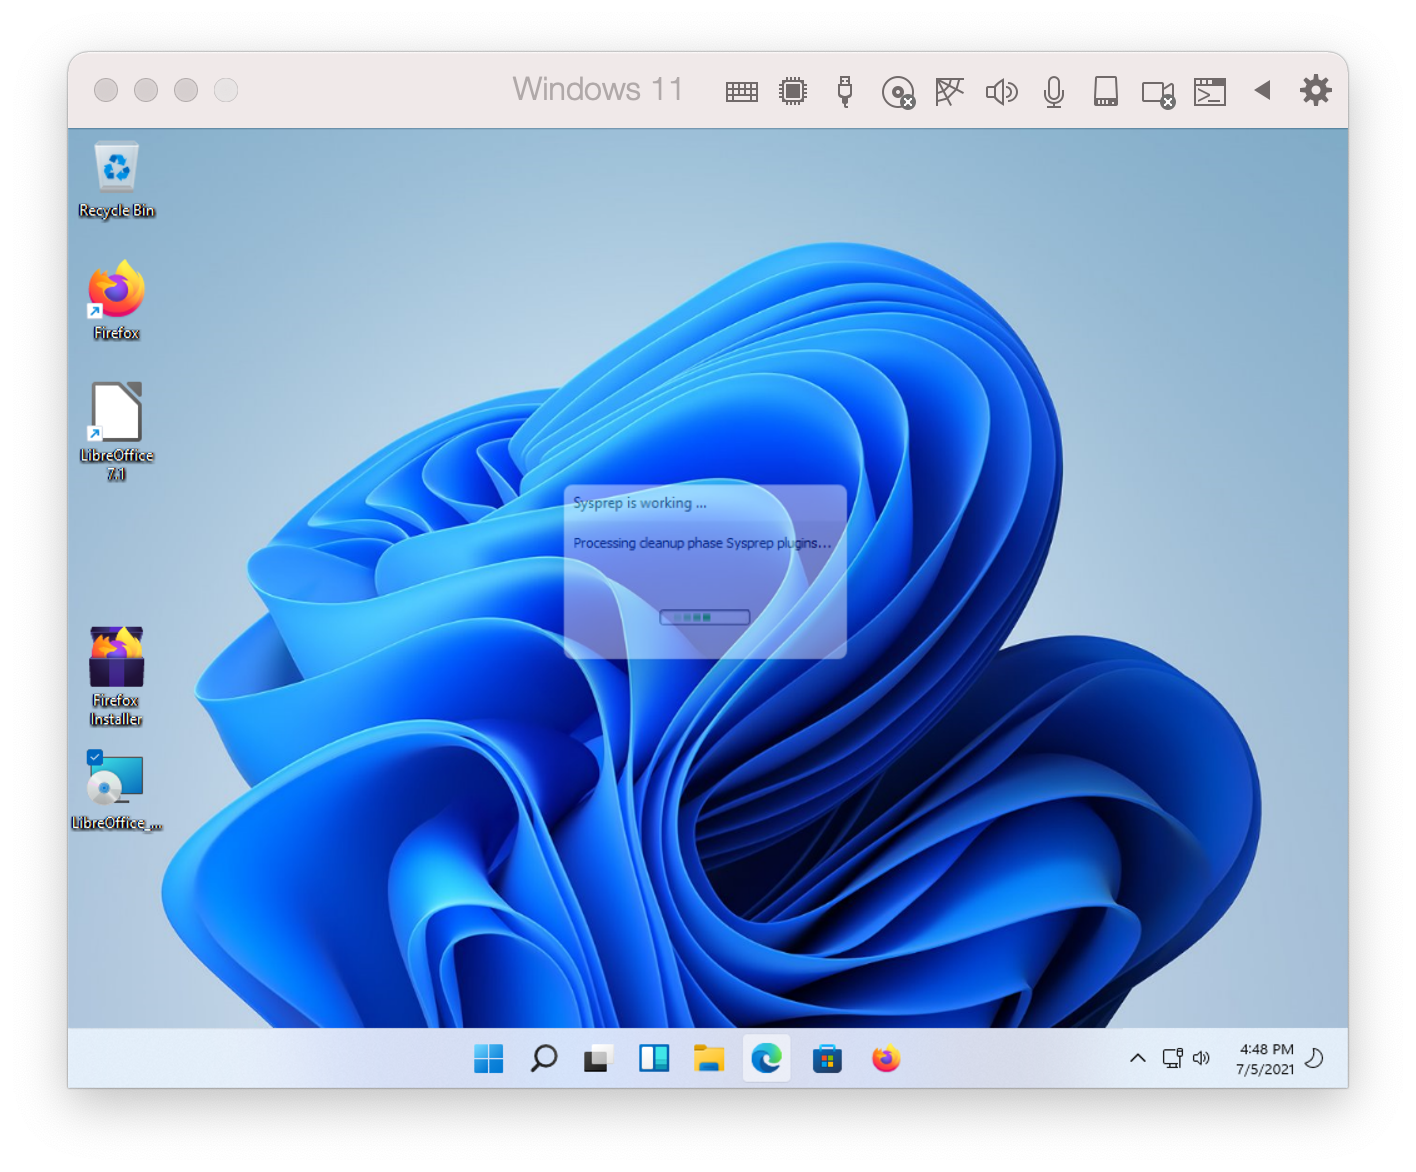
- With everything setup it is now time to prepare the system for transfer to the new owner (this is the last thing we do but if we’ve forgotten something we can repeat the whole process from step 1). In the “System Preparation Tool” window under “System Cleanup Action” make sure that “Enter System Out-ofBox Experience (OOBE)” is selected, make sure that “Generalize” is ‘not’ checked, and under “Shutdown Options” select “Shutdown” followed by “OK” to finish up.

The new owners experience
Now let’s pretend that I’m the new system owner. I’m going to turn on my secondhand computer, setup my username and password, and setup some initial settings:
That concludes this tutorial and I hope it was informative.