Symptoms
This tutorial demonstrates how to correct the common issue of Mac OS X’s Finder displaying Unix files beside the main folders which are stored at the root your Mac OS X startup volume, typically “Macintosh HD”, this occasionally occurs after a series of software updates are applied or you have restored your Mac OS X volume using ASR. If you are seeing files like “bin, dev, var, etc” amongst others then using the following instructions should solve your problem.
To follow this tutorial it is assumed that you are familiar with Mac OS X and know how to use the finder to open applications and manage files. The version of Mac OS X used is Mac OS X 10.5 (Leopard), these instructions should work with most other versions of Mac OS X also.
The Solution
- Startup your troubled Mac, locate your OS X installation media and insert it into your mac.
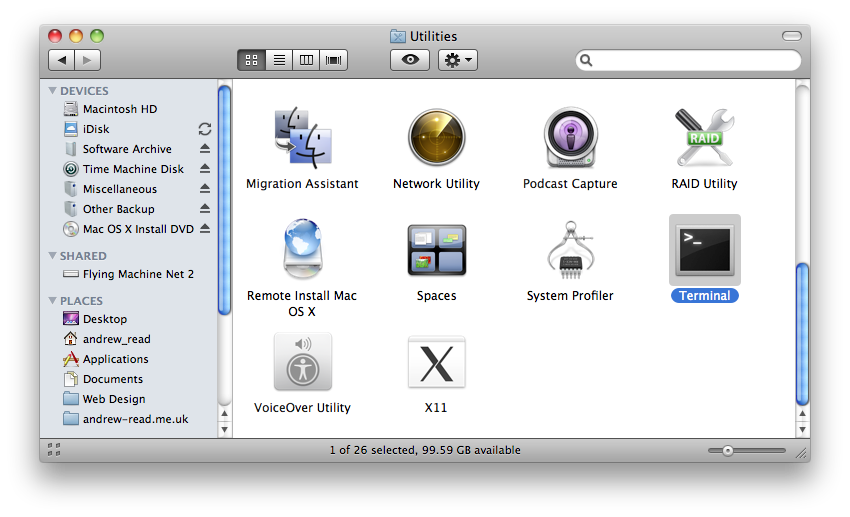
- Open the finder and enter the “Applications → Utilities” folder and open the “Terminal”.
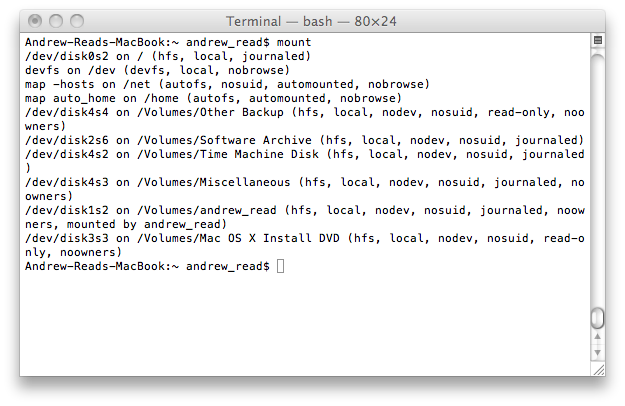
- We now need to know where to find the OS X installation files which are not visible in the Finder, in the terminal window enter mount , you should see similar output to the following:.
 Andrew-Reads-MacBook:~ andrew_read$ mount
/dev/disk0s2 on / (hfs, local, journaled)
devfs on /dev (devfs, local, nobrowse)
map -hosts on /net (autofs, nosuid, automounted, nobrowse)
map auto_home on /home (autofs, automounted, nobrowse)
/dev/disk4s4 on /Volumes/Other Backup (hfs, local, nodev, nosuid, read-only, noowners)
/dev/disk2s6 on /Volumes/Software Archive (hfs, local, nodev, nosuid, journaled)
/dev/disk4s2 on /Volumes/Time Machine Disk (hfs, local, nodev, nosuid, journaled)
/dev/disk4s3 on /Volumes/Miscellaneous (hfs, local, nodev, nosuid, journaled, noowners)
/dev/disk1s2 on /Volumes/andrew_read (hfs, local, nodev, nosuid, journaled, noowners, mounted by andrew_read)
/dev/disk3s3 on /Volumes/Mac OS X Install DVD (hfs, local, nodev, nosuid, read-only, noowners)
Andrew-Reads-MacBook:~ andrew_read$
Having noted the location of your Mac OS X installation media, in this example “/Volumes/Mac OS X Install DVD” change into this directory using the “cd” command, look at the example below.
- cd “/Volumes/Mac OS X Install DVD”
- Now that you are in your installation media root folder simply enter the following commands into your terminal, copy and paste them from this site one after the other if you wish:.mkdir ~/temp #creates temp folder in your home folder
- cp System/Installation/Packages/OSInstall.pkg ~/temp #copies a package to your new temp folder
- cd ~/temp #changes your working directory to your temp folder
- xar -xf OSInstall.pkg #extracts the contents of the package you have copied
- tar -xvzf Scripts #extracts an archive which was contained inside the package
- sudo ./SetHidden / hidden_MacOS9 #this is what fixes your visible Unix files
- logout #you are now finished with the terminal
- Now that you are finished entering commands you can quit the Terminal application the way you would any other Mac application, please note that your Finder is now very confused so reboot your Mac before we tidy up.
- Now that your Mac should have rebooted, using the Finder have a look at your startup disk, you should see none of those Unix files or folders.
- All that is now left to do is to delete a folder inside your home folder, the “temp” folder which contained all the files we have been working with. Go to your home folder and drag the “temp” folder to the “Trash” in your dock.
Happy Mac’ing!